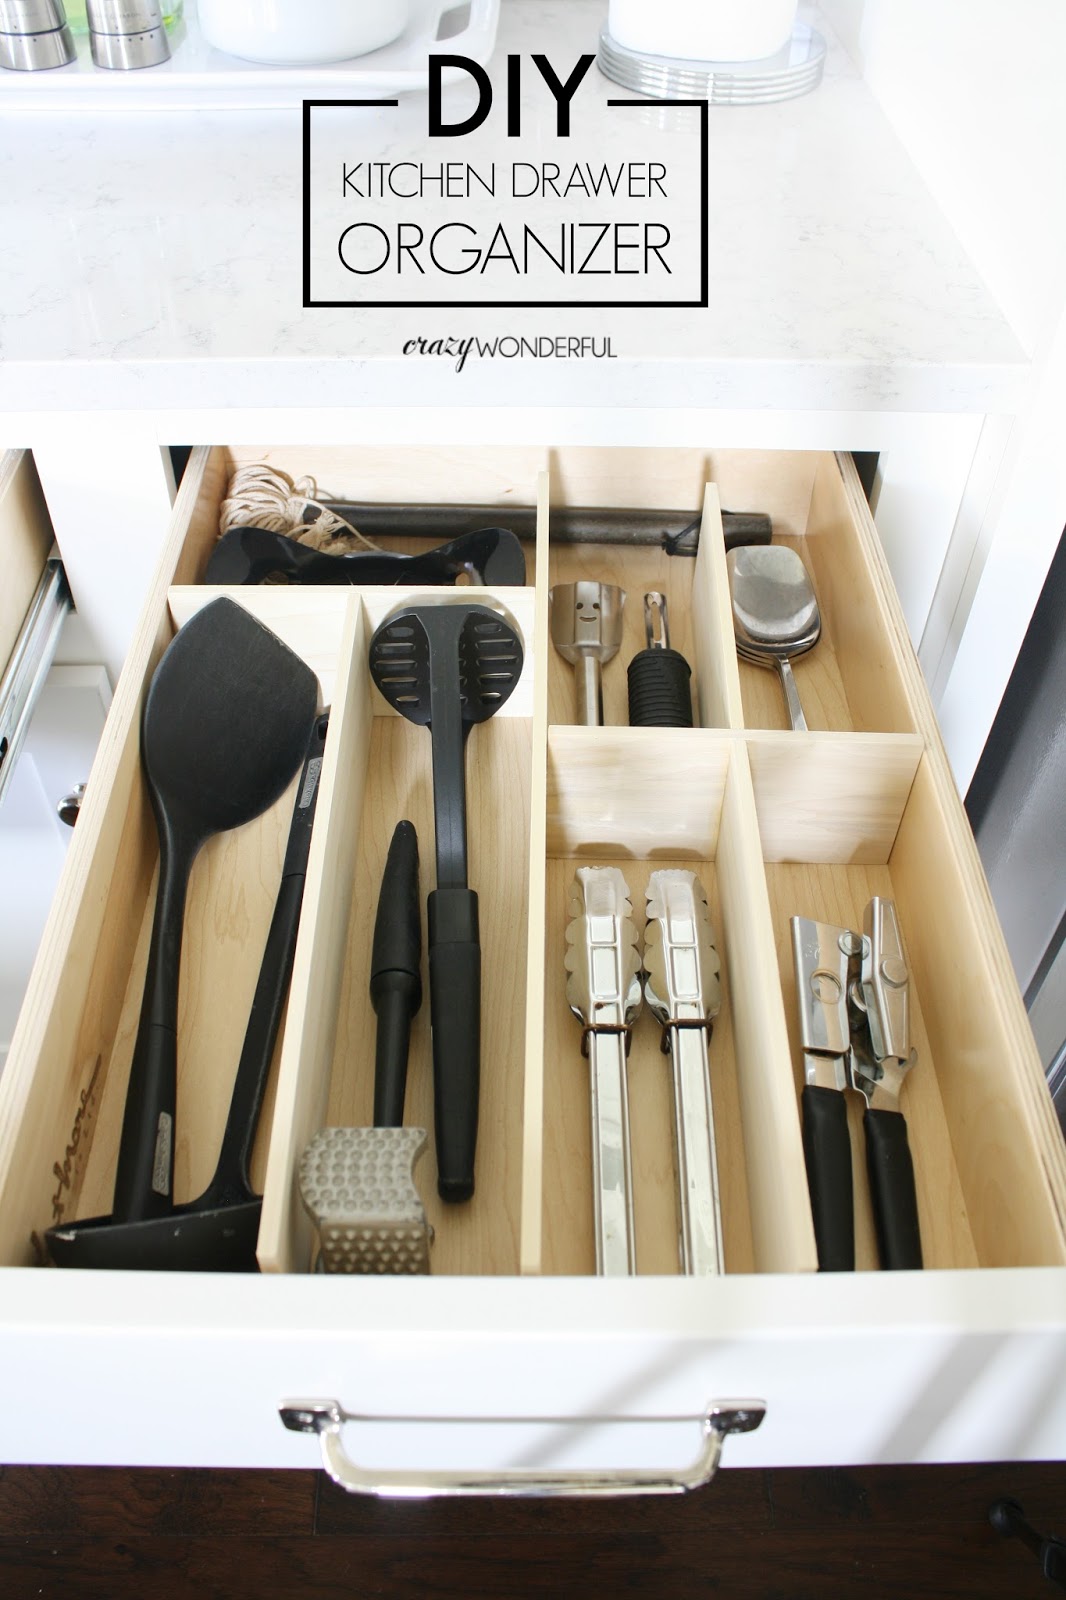
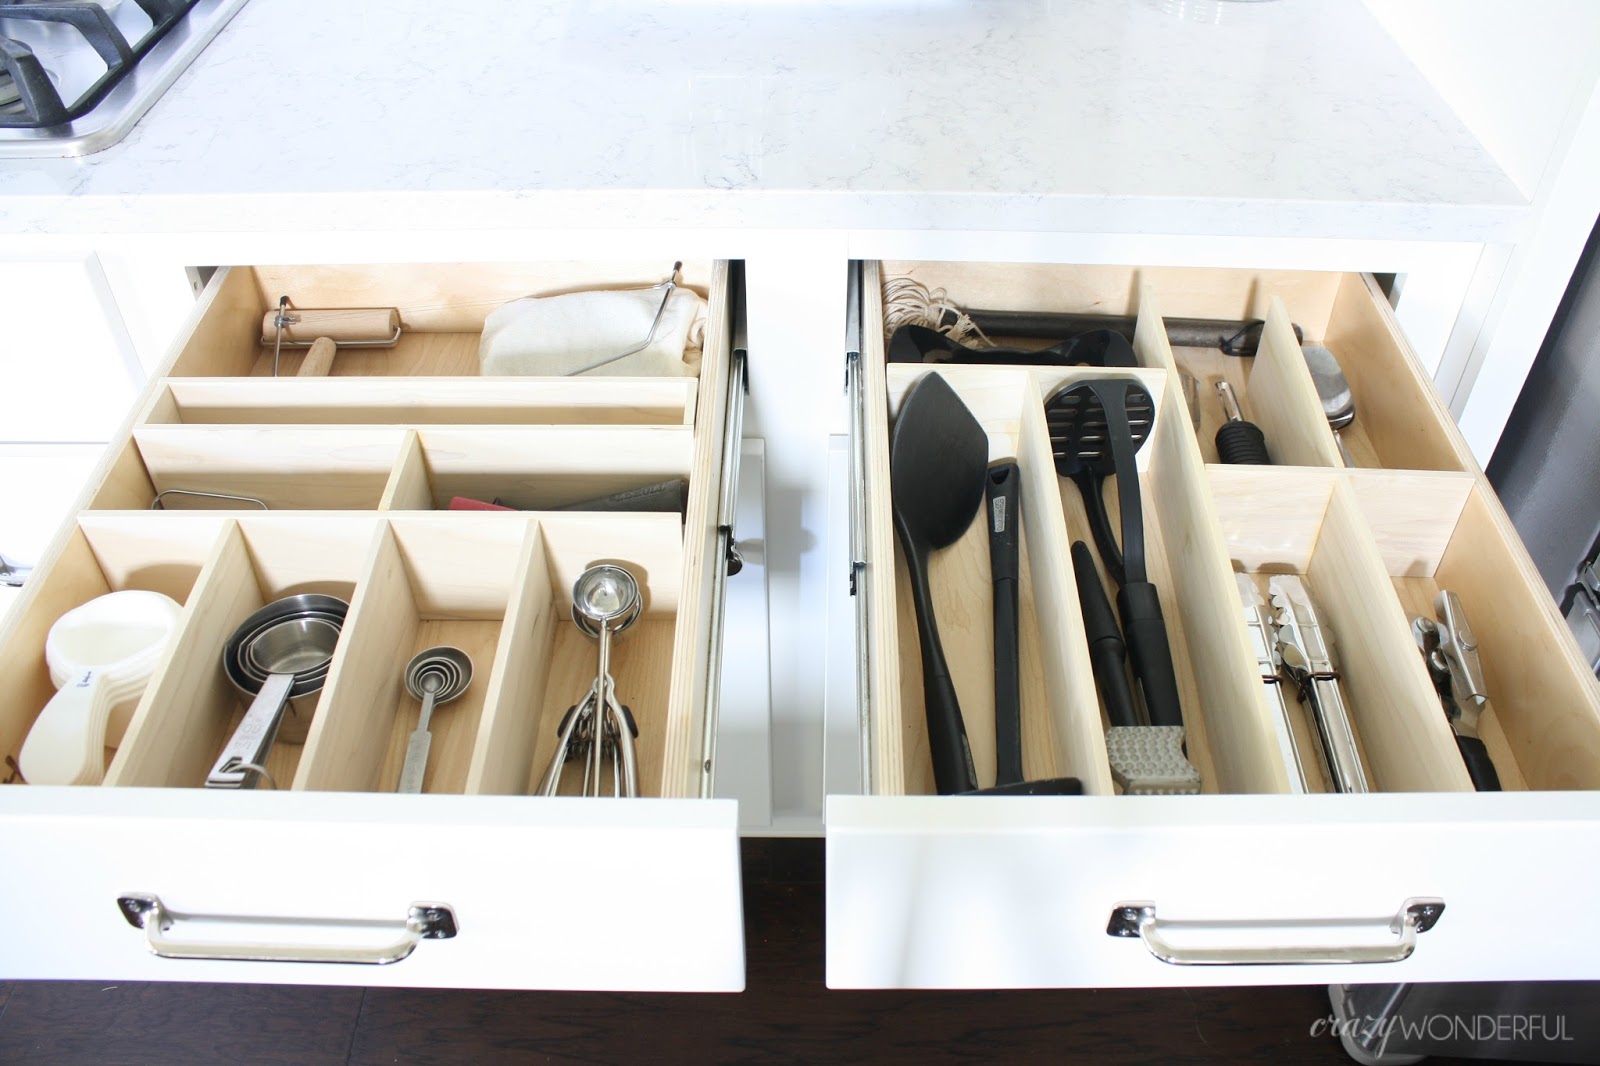
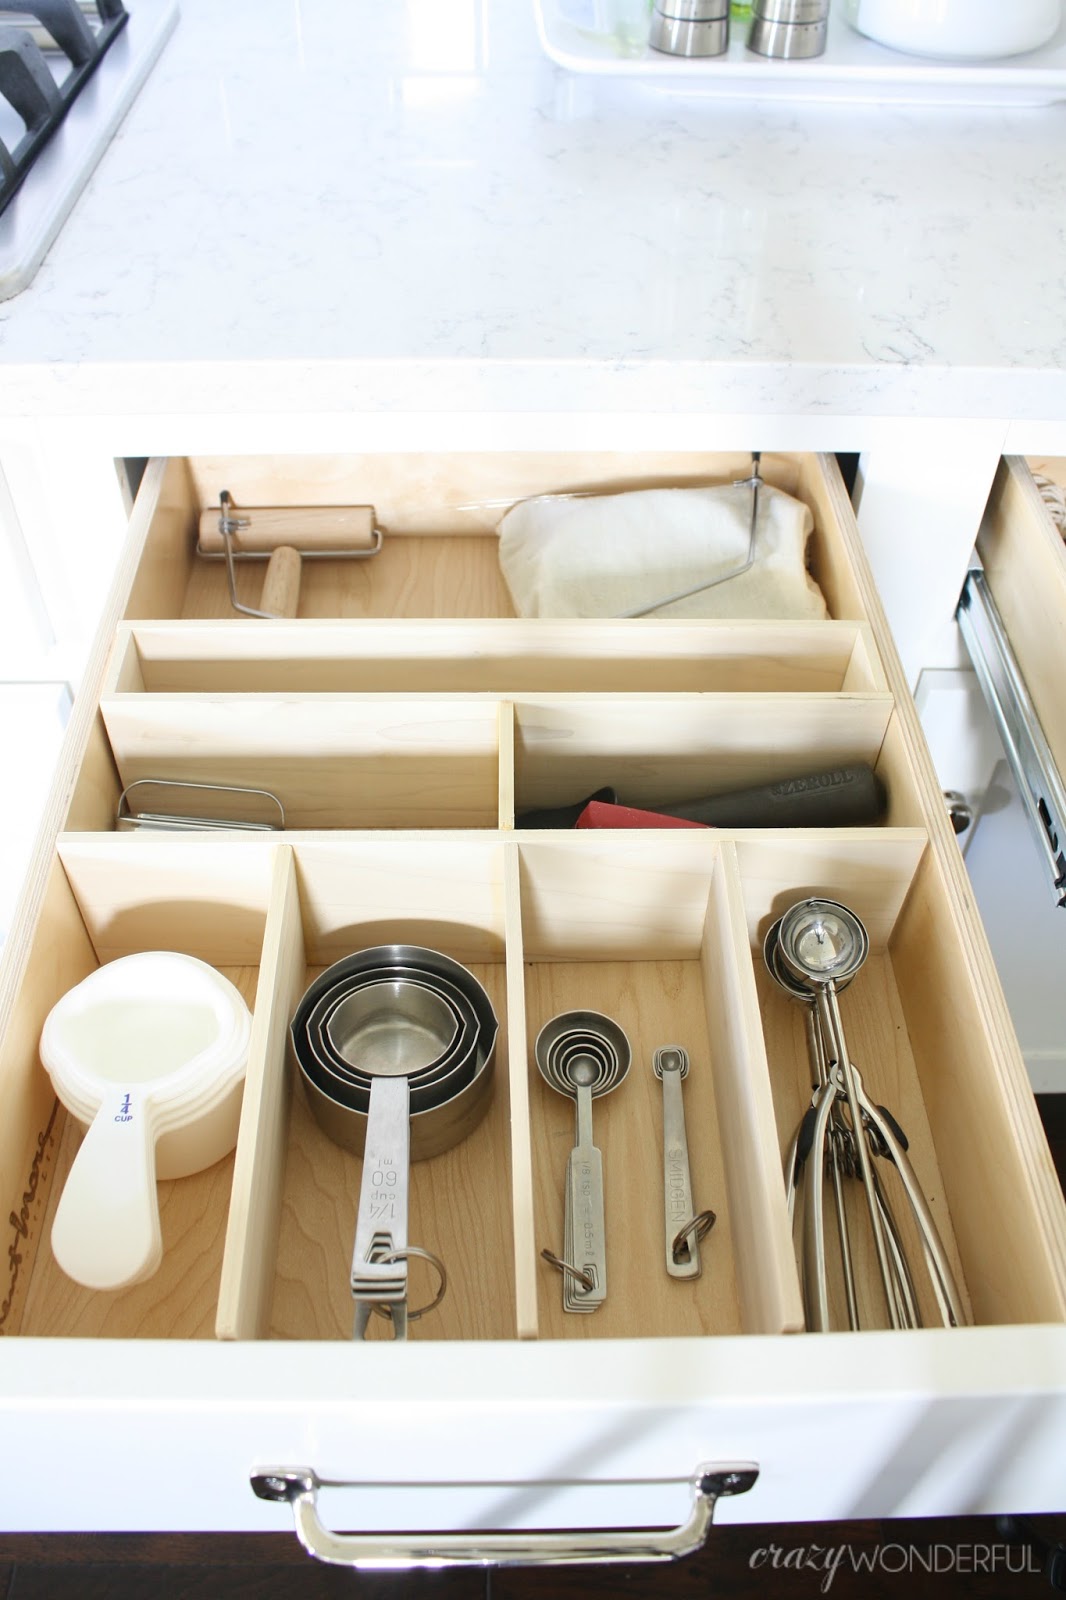
DIY custom kitchen drawer organizers
Some affiliate links are used at no additional cost to you. Thank you for supporting my blog! For more information, visit my Disclosure.

The first of the year organizing bug is no joke. Something about getting Christmas decor put away and seeing the house clean makes me want to tackle all of the little drawers and closets. Clean all the things!
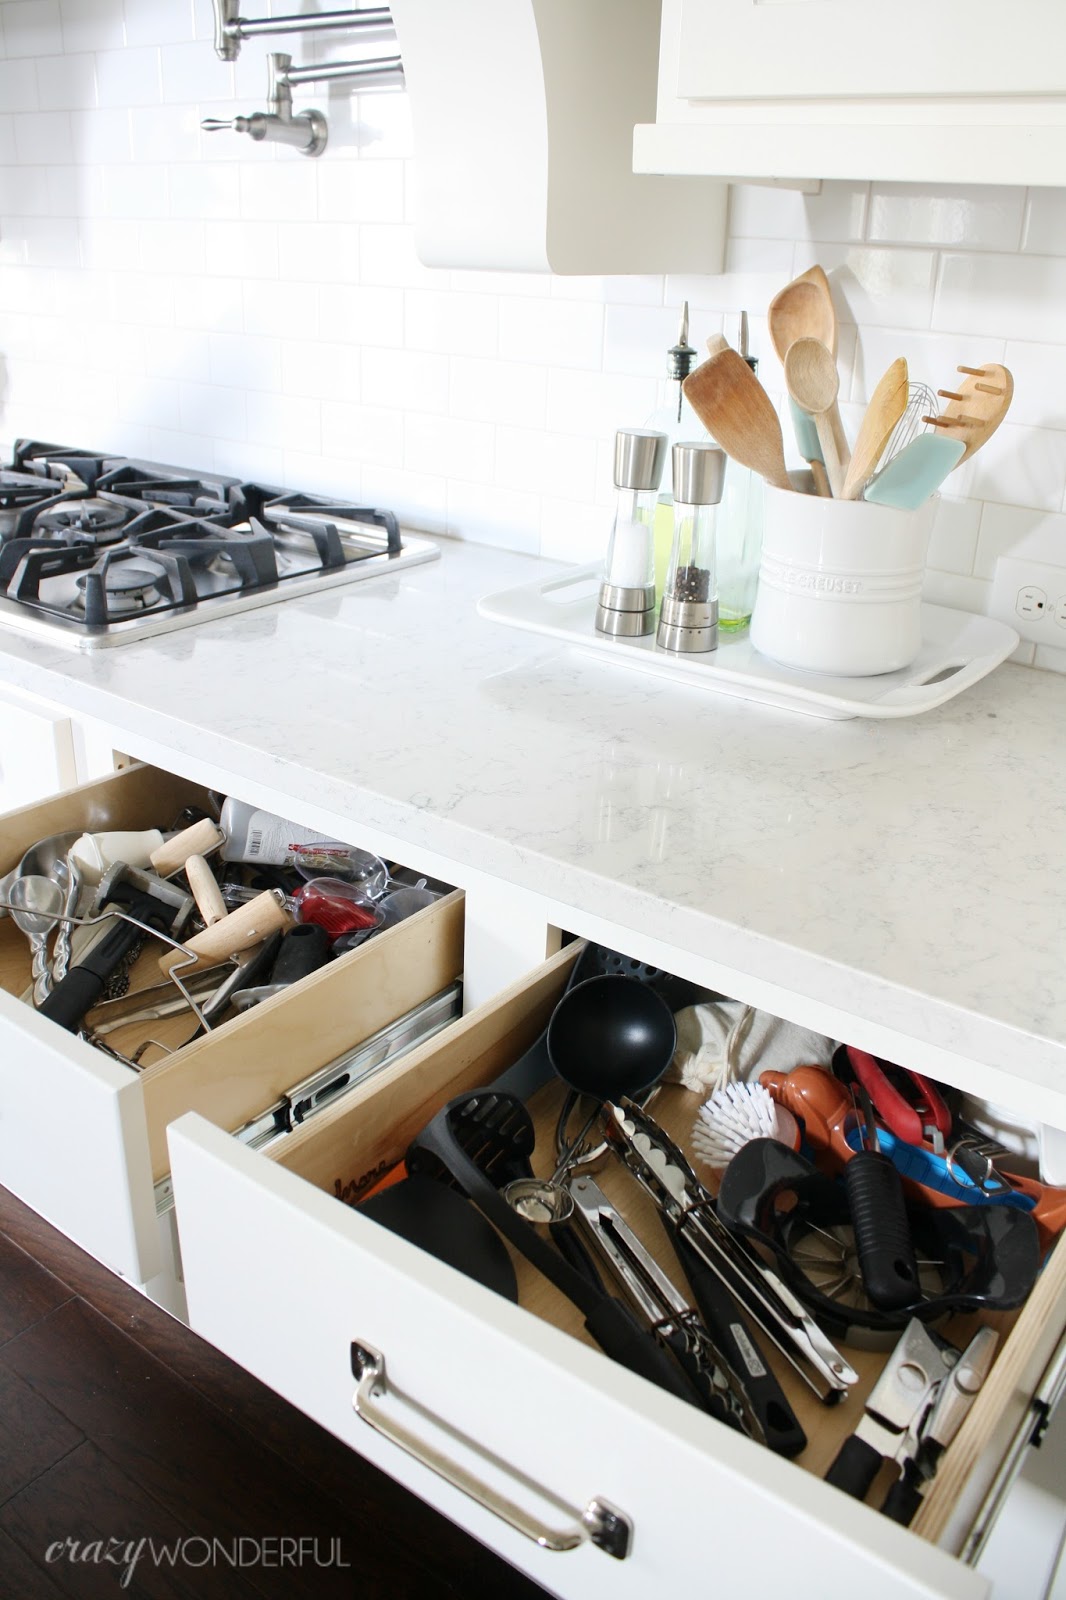
I was putting dishes away one morning and as I was trying to shove my hand mixer’s beaters into an already out of control drawer I decided enough already. Today is the day I organize these drawers once and for all.


Wonderful Finds


You Might Also Like
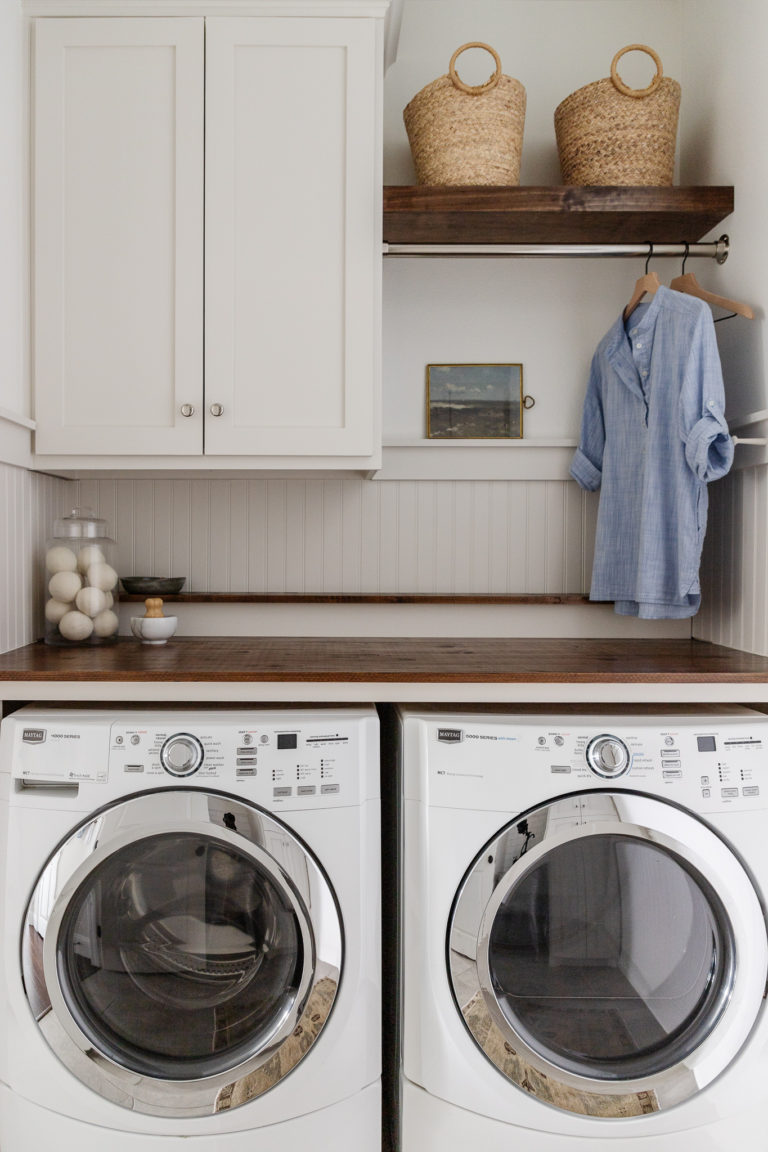
DIY Laundry Room Makeover
My laundry room project was not supposed to take long. In my mind it was going to take me about two weeks working on and off. Life had other plans and I wasn’t able to give it my full attention. But, it is now complete and looking better than it ever has. I hope you…

fake looks great
When I gave you guys a little peek into Izzy’s new big girl room, I included a picture of her turquoise nightstand. I love this little piece! Here’s what it looked like before I actually really liked it in its before state, so I had to keep reminding myself, “you wanted a turquoise table for her room, so…

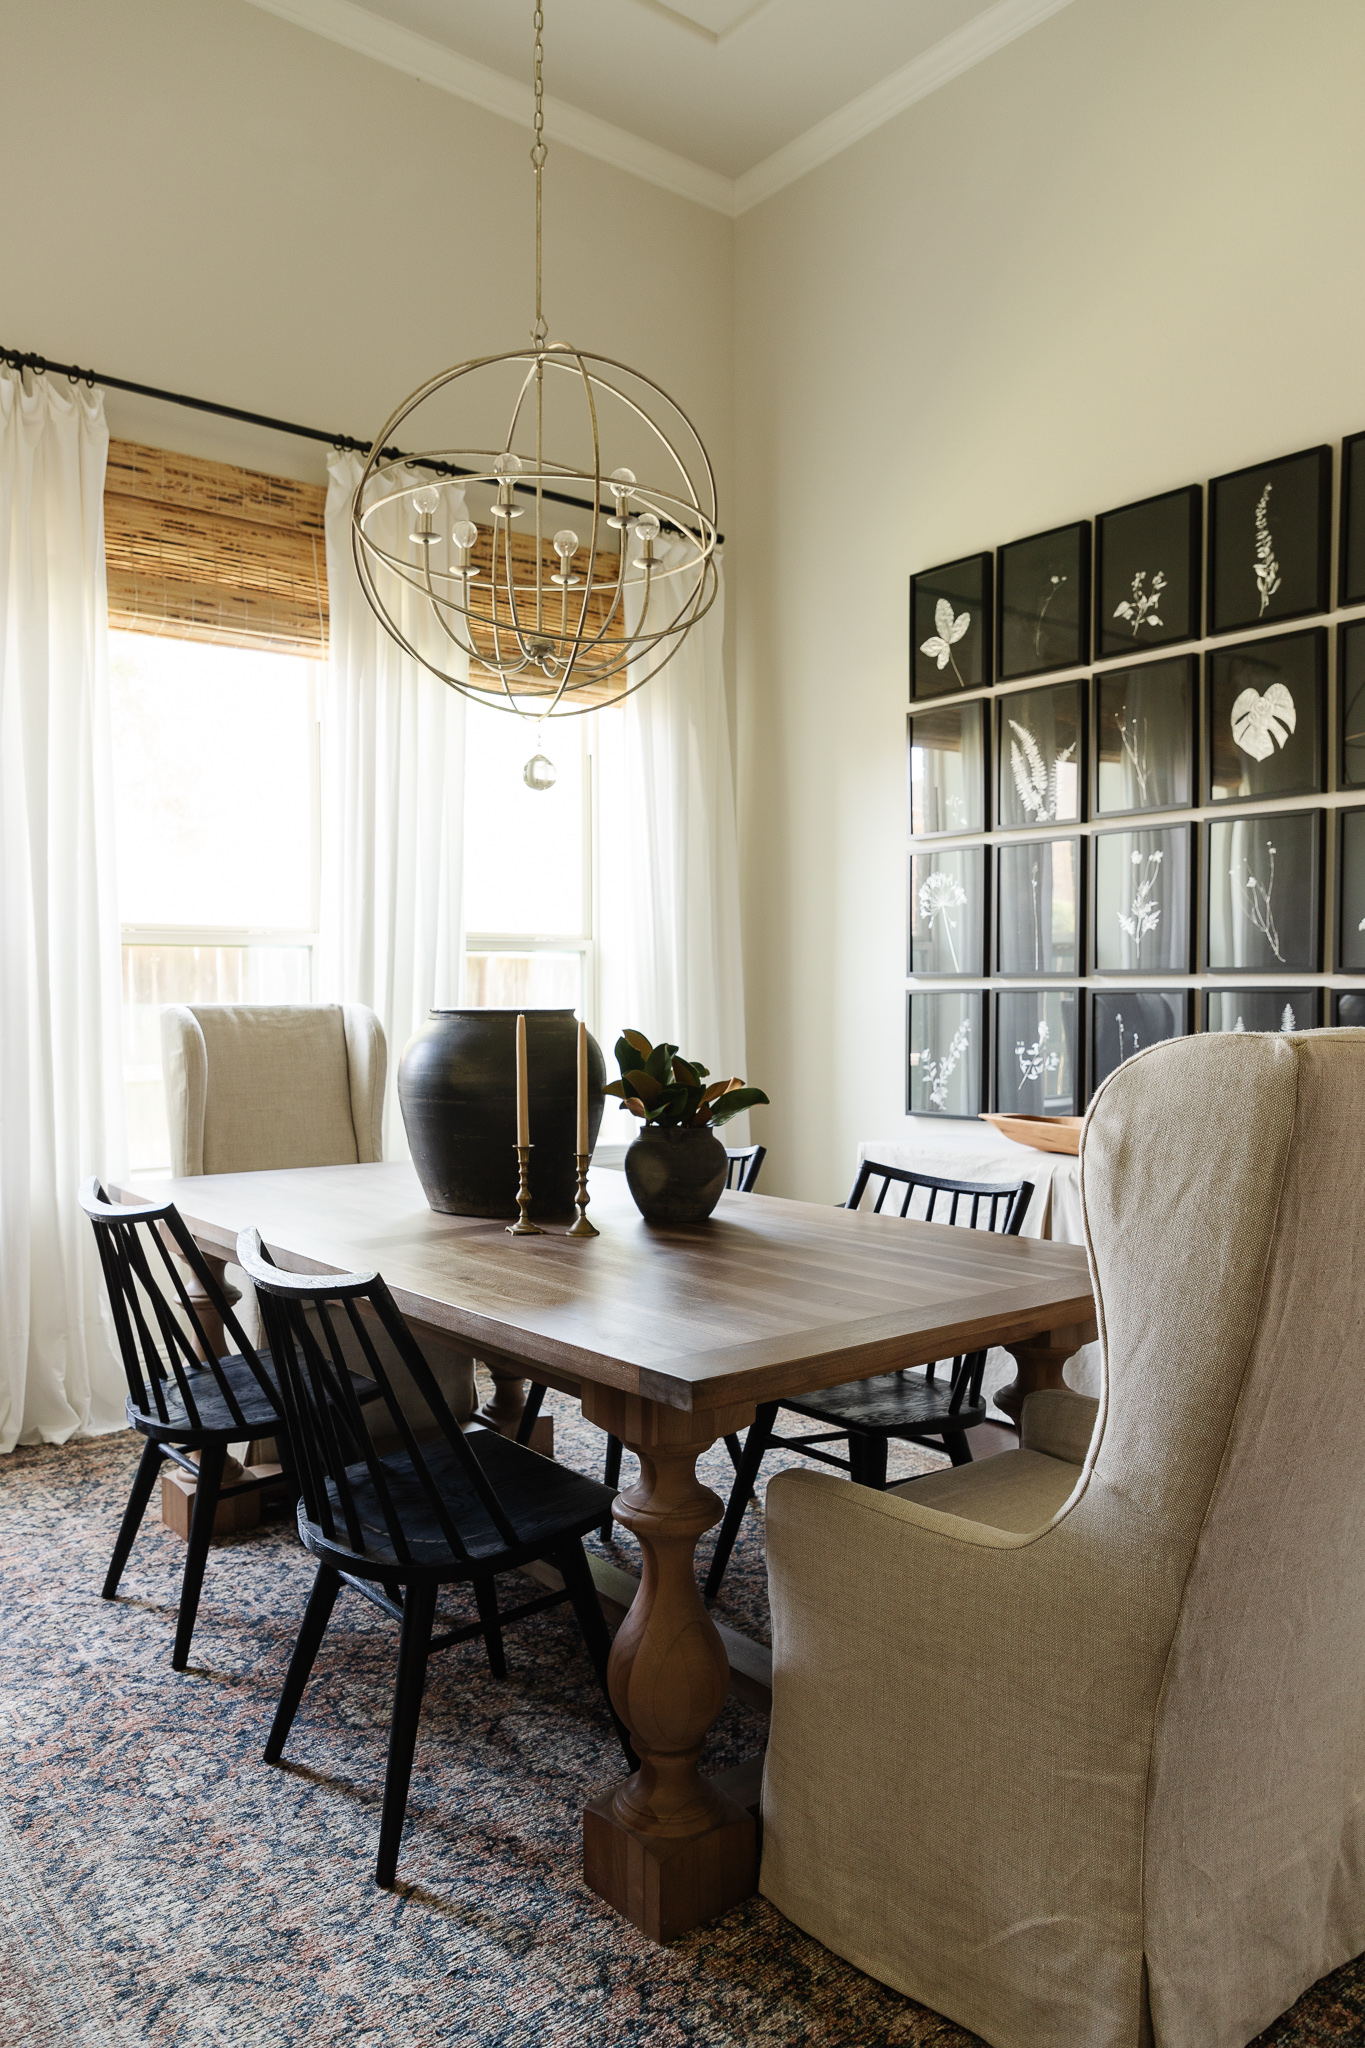
Simple Kitchen Updates
Our kitchen is not one of the areas in our home I had spent any time decorating. I’m lucky if it’s just kept clean, so decorating hasn’t been a priority. Years ago when we added additional cabinets to our uppers I wasn’t sure how to decorate them so all white or clear glass pieces were…

sunburst mirror DIY
– UPDATED – It has been soooo long since this first post went up and I thought it would be fun to include some updated photos of this mirror and show you how it has been used over the years. Still using it and loving it! Where ol’ girl currently lives in our Houston house….
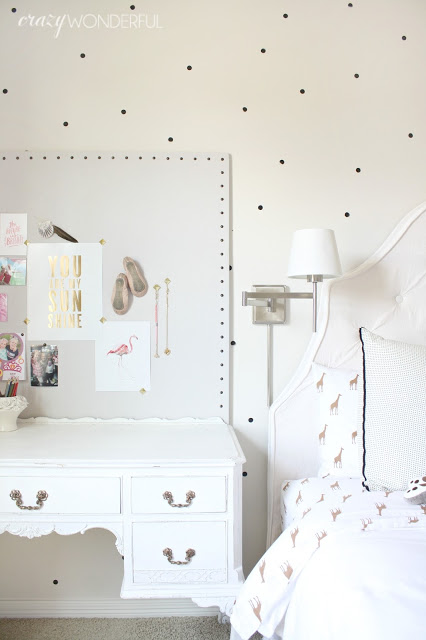
large DIY pinboard
I did some furniture rearranging a while back in Izzy’s room, per her request. She scored a desk and a massive pinboard out of the deal. Kinda funny how it went down. Izzy – “Mom, I really want a desk in my room. You know, since I’m going to have A LOT of homework in…

stupid mirrors
I mentioned a couple of weeks ago in this post that I was going to be on the hunt for a set of three round mirrors for a narrow wall in my living room. My mom texted me this picture from Tuesday Mornings. I thought, “YES. Get your rear in the car and get those…
Comments
NewestOMG. I can't even begin to tell you how fired up I am about this!!!!! I AM ALL OVER THIS PROJECT!! Our last kitchen was ginormous and even after 6.5 years in this house I still have not figured out storage solutions for my current kitchen. I love this idea and can't wait to control the chaos!!!!! If ever there were beautiful drawers, you have them girl!!!!!!
That was exactly how I felt when I first saw it!!! I called my mom all giddy and was shooting her photos back and forth non-stop during the process 😀 I can't wait to see what all you do with it!
This is how we need to start off the new year!
Clean and organized <3
xo
http://www.PlumPrettySugar.com
Glad you like it! I was hoping it would make me want to cook more in the kitchen. Still waiting on that to happen 😀
This is such a nice blog! Everything is so nicely designed, we at Faisal Roofing Services will try our best!