dog silhouette art – tutorial
Some affiliate links are used at no additional cost to you. Thank you for supporting my blog! For more information, visit my Disclosure.


-
wood panel (I used a precut 16×36 piece found at my local home improvement store)
-
primer (not a must)
-
paint for background
-
paint for silhouette
-
sand paper
-
stain
-
computer with printer and paper
-
chalk
-
pencil
-
tape
optional. I did it because I wanted to see some of the darker gray primer show through
when I distressed it.

design to match the size of my pieces of wood (16″x36″). I changed the image to print out in a light grayscale so I didn’t waste a bunch of ink. Line up and tape
together your sheets of paper.

with a pencil. Remove the paper and you will have a chalk outline of your image.

of the entire piece. To give it a little more of an aged look you can dip a
paper towel into some stain and rub it over the front and edges and let dry.


Tuesday Confessional at Confessions of a Stay at Home Mommy
Tuesday To Do at The Blackberry Vine
Will Craft For… at Tales of a Trophy Wife
Show and Share at Southern Lovely
Tuesday Talent Show at Chef in Training
Tuesday Link Party at Todays Creative Blog
Wow Us Wednesdays at Savvy Southern Style
Wow Me Wednesday at Ginger Snaps
Primp Your Stuff at {Primp}
Whatever Goes Wednesdays at Someday Crafts
Look What I Made! at Creations by Kara
What We Wore and Made at Rae Gun Ramblings
Suzy’s House Party at Saved by Suzy
Haute Stuff Thursday at Frugalicious Me
Inspiration Friday at At the Picket Fence
VIP Party at Designer Garden
Feature Friday at Five Days… 5 Ways
365 Link Party at Two Thirty-five Designs


Wonderful Finds


You Might Also Like

buy or diy – transitional dining room
Do you ever look at a beautiful designer image and wonder how you would recreate it on your own? Like, what parts of it you would DIY or how you would try to get that same feel but for A LOT less? I do that with every photo I see. I thought it would be…

izzy’s birthday interview
This little cutie just turned 4 yesterday!!! She has had birthday parties galore over the weekend and earlier this week. One with grandparents, one with her favorite gal pals, and one at preschool. Believe it or not, she’s o-v-e-r it. I sang her “Happy Birthday” yesterday, on her real birthday, and she just looked at…
tv gallery wall | before
It’s a late post today. A stomach bug hit Izzy and Sam yesterday. Awesome. Just awesome. Today we’re talking about the TV wall in our living room. It’s a good thing I took this picture before Vomit-geddon hit. The couch slipcover and rug got it the worst. The couch is good to go though – thank God…

Summer Home Tour Master Bedroom
Home Tours are always so fun to put together. If you have wandered over here from Peonies on Pleasant’s tour, welcome, I am so happy to have you! I realized it has been a while since our master bedroom has been shared on the blog so I thought this would be a great time to…

Christmas Porch with Club Botanic
There is nothing like the smell of fresh Christmas greens. It immediately gets me in the mood for the season. That’s why I am ecstatic to be partnering with Club Botanic to bring you my Christmas porch! Fresh, simple greens are my favorite way to decorate. I absolutely adored Club Botanic’s magnolia wreath I used…
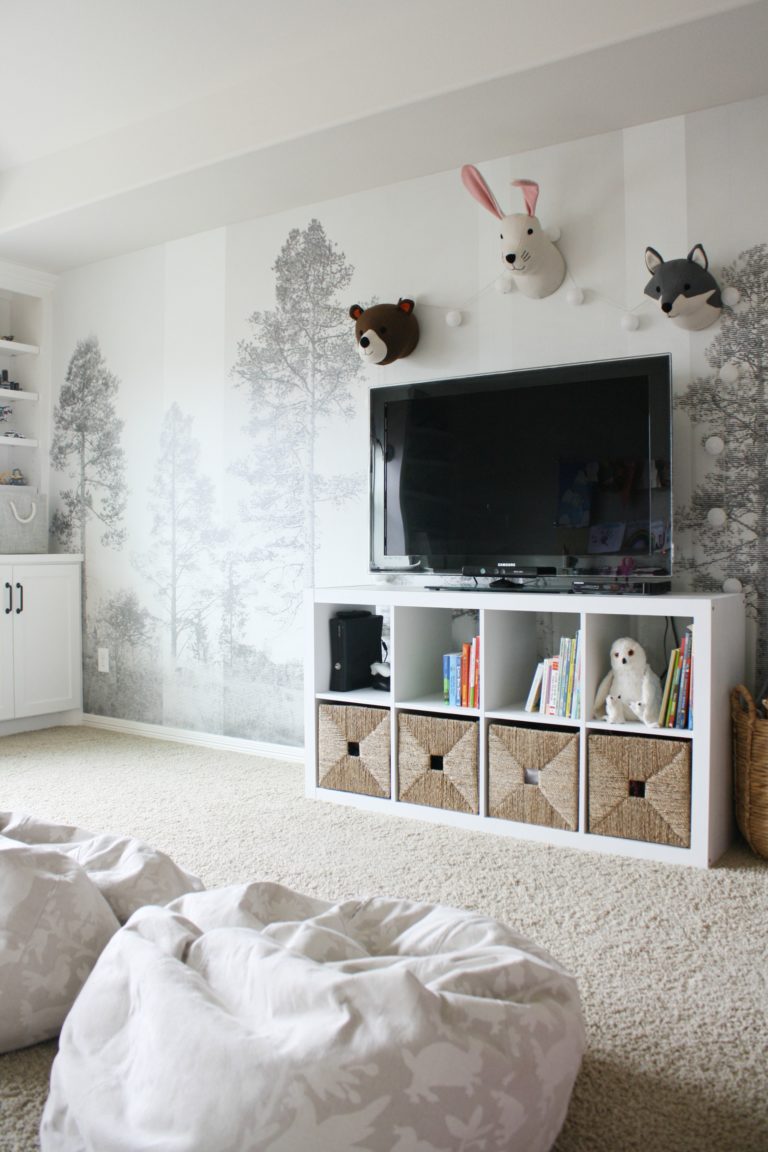
Playroom Wall Mural with Photowall
(I was provided the wall mural used in this post; however, all options are my own. For more info, visit my full disclosure here.) After the playroom makeover post you just saw, I bet you thought I was done in there didn’t you? Nope!! Just a couple of days after it was considered finished I…
Comments
NewestI so totally LOVE LOVE LOVE this!!! I'm a bit confused on step 3. I'll read again after another cup of coffee and if I'm still slow I'll send you an email-ha!
This. is. AWESOME!!! Shelley…how cool! And I love Izzy's room! So soft and feminine…just gorgeous!
You make everything look easy!!!
Oh my, thank you so much for posting this. I have been wanting to do a horse silhouette for my daughter and now I know how!! Great job!
This looks awesome, Shelley! I bet it would be super cute with a child's silhouette, too!
That looks like a piece someone paid big bucks for in a swanky catalog. You did a great job.
(even if I'm a cat person!)
So cute! And yes, this would be mucho dinero in any catalog! Love it!
that is FABULOUS shelley! love the colors and style!
This looks like a great project. Thanks for sharing!
Great post,I really like your article
This is such a cute idea. I'd love to do something similar in my daughter's room.
Goodness gracious I love this!! I have never heard of that chalk trick, very clever. Now I need to make me some art of my 2 doxies. Thanks for sharing!
This is so adorable! My girls would go crazy over this. I'm your newest follower, btw:-)
What a cool idea, and I love the unexpected color!
Thanks for linking up with Feature Friday FREE-FOR-ALL!
Love it! It makes such a statement
My sis-in-law did something like this with her dogs and they turned out adorable! Makes me wish I had a puppy =) Too cute!
How cute! I totally need to make one of these for each of my doggies 🙂
I would love it if you would link up at Watch Out, Martha!’s link up party: Martha Mondays (every Monday through Wednesday)! Hope to see you there!
http://www.watchoutmartha.net/
This is so cute! Thanks for the tutorial. I think something similar would look great in my son's room. I would love if you would share this and any other posts at Showcase Your Talent Thursday http://whatscookinglove.blogspot.com/2012/05/showcase-your-talent-thursday-7.html. I hope to see you there!
This is a fantastic project! So cite. Would you consider linking it up at my Pinworthy Projects Party? I hope to see you there!
I LOVE this!!! I want to make one using my dog's silhouette! Thanks for sharing! 🙂