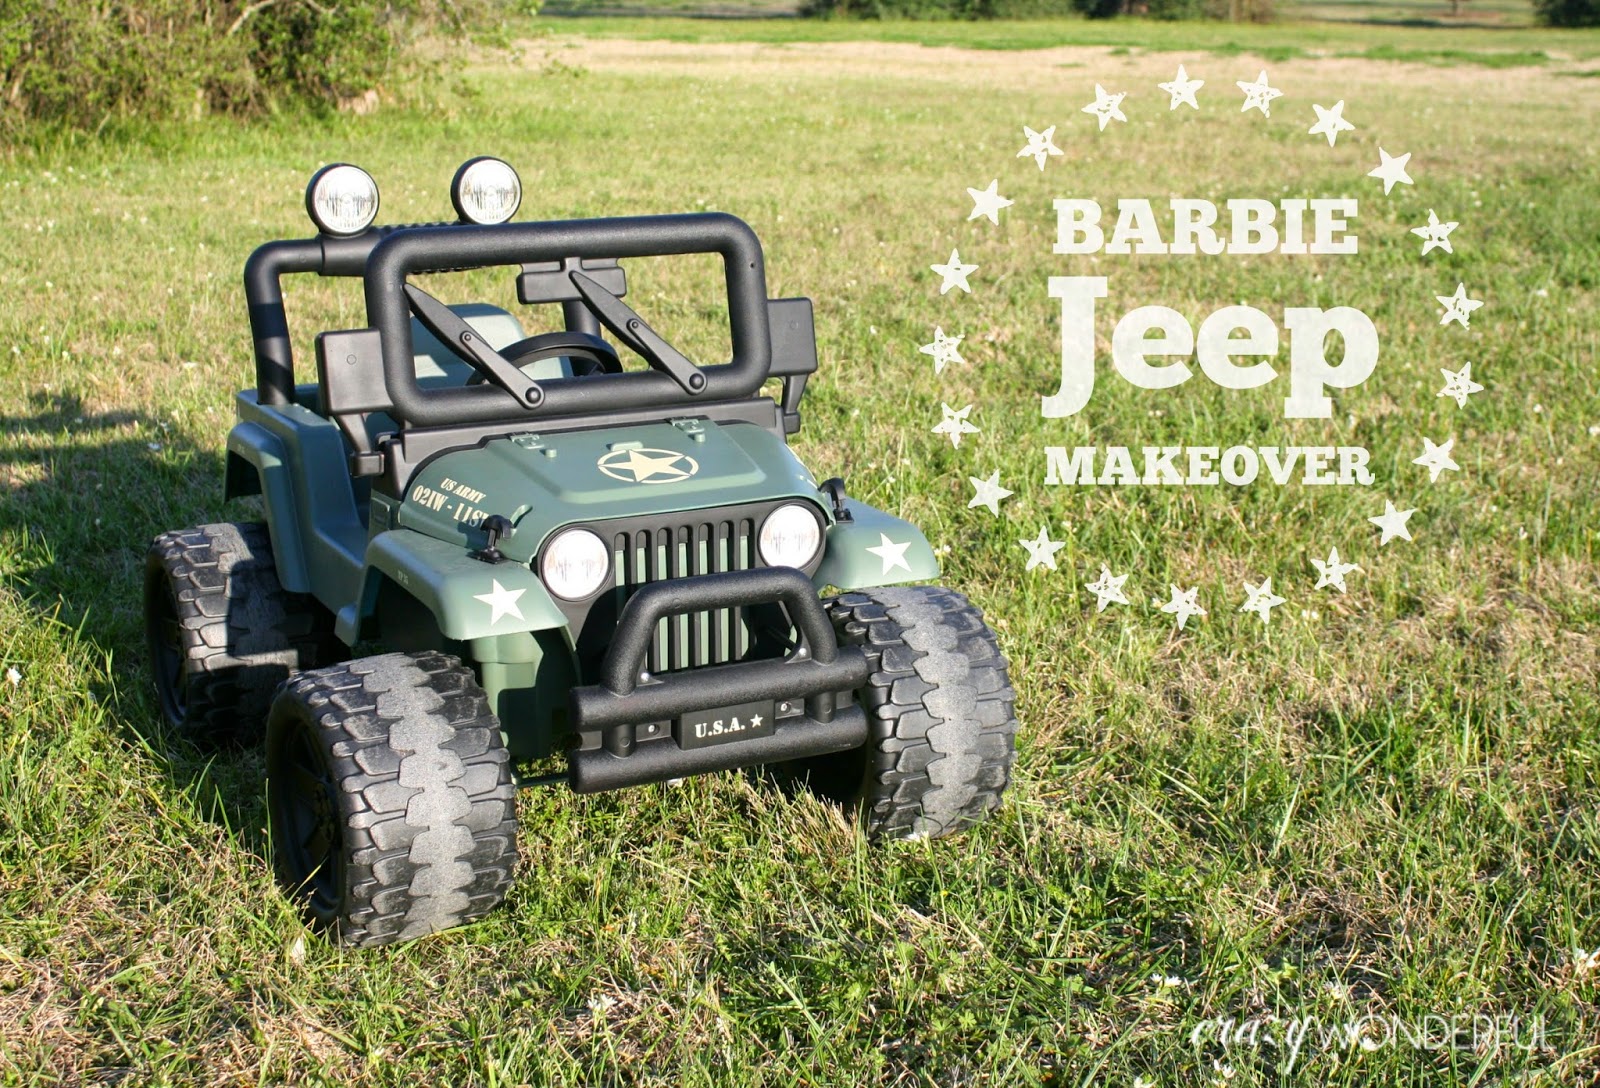
barbie jeep makeover | willy’s jeep
Some affiliate links are used at no additional cost to you. Thank you for supporting my blog! For more information, visit my Disclosure.


- Phillips and flat head screw driver
- Goo Gone and a razor blade to help with difficult sticker removal
- Soap, water and sponge to wash everything down
- Plastic grocery bags to cover wheels when painting and other coverings if needed
- Spray paint (I used Krylon ColorMaster in Italian Olive satin, Krylon ColorMaster in Black flat, and Treehouse Studio Clear Acrylic Matte Coating – all picked up at Hobby Lobby)
- Replacement decals for dials, lights, etc. (click here)
- Customized Willy’s Jeep vinyl decals from Vinyl Creations in Matte Maize color (click here) More about this towards the end of the post.


Wonderful Finds


You Might Also Like

if you’re gonna refinish a piano…
…the first thing you’re going to need are the balls to get started! This is my grandmother’s piano I have so many fond memories of sitting at this piano with my grandmother as a child. To me it was magical. When the piano came to me I had no plans to change it, just leave…

DIY Faux Sheepskin Ottoman
I have a mental want list of certain items that I’ve seen at the Round Top antique show or online that are way outside my budget. One of those wants are sheepskin ottomans. They’re just outrageously expensive!! Online they go from $600-$1,095 EACH. I knew I could make some myself that would give me the…

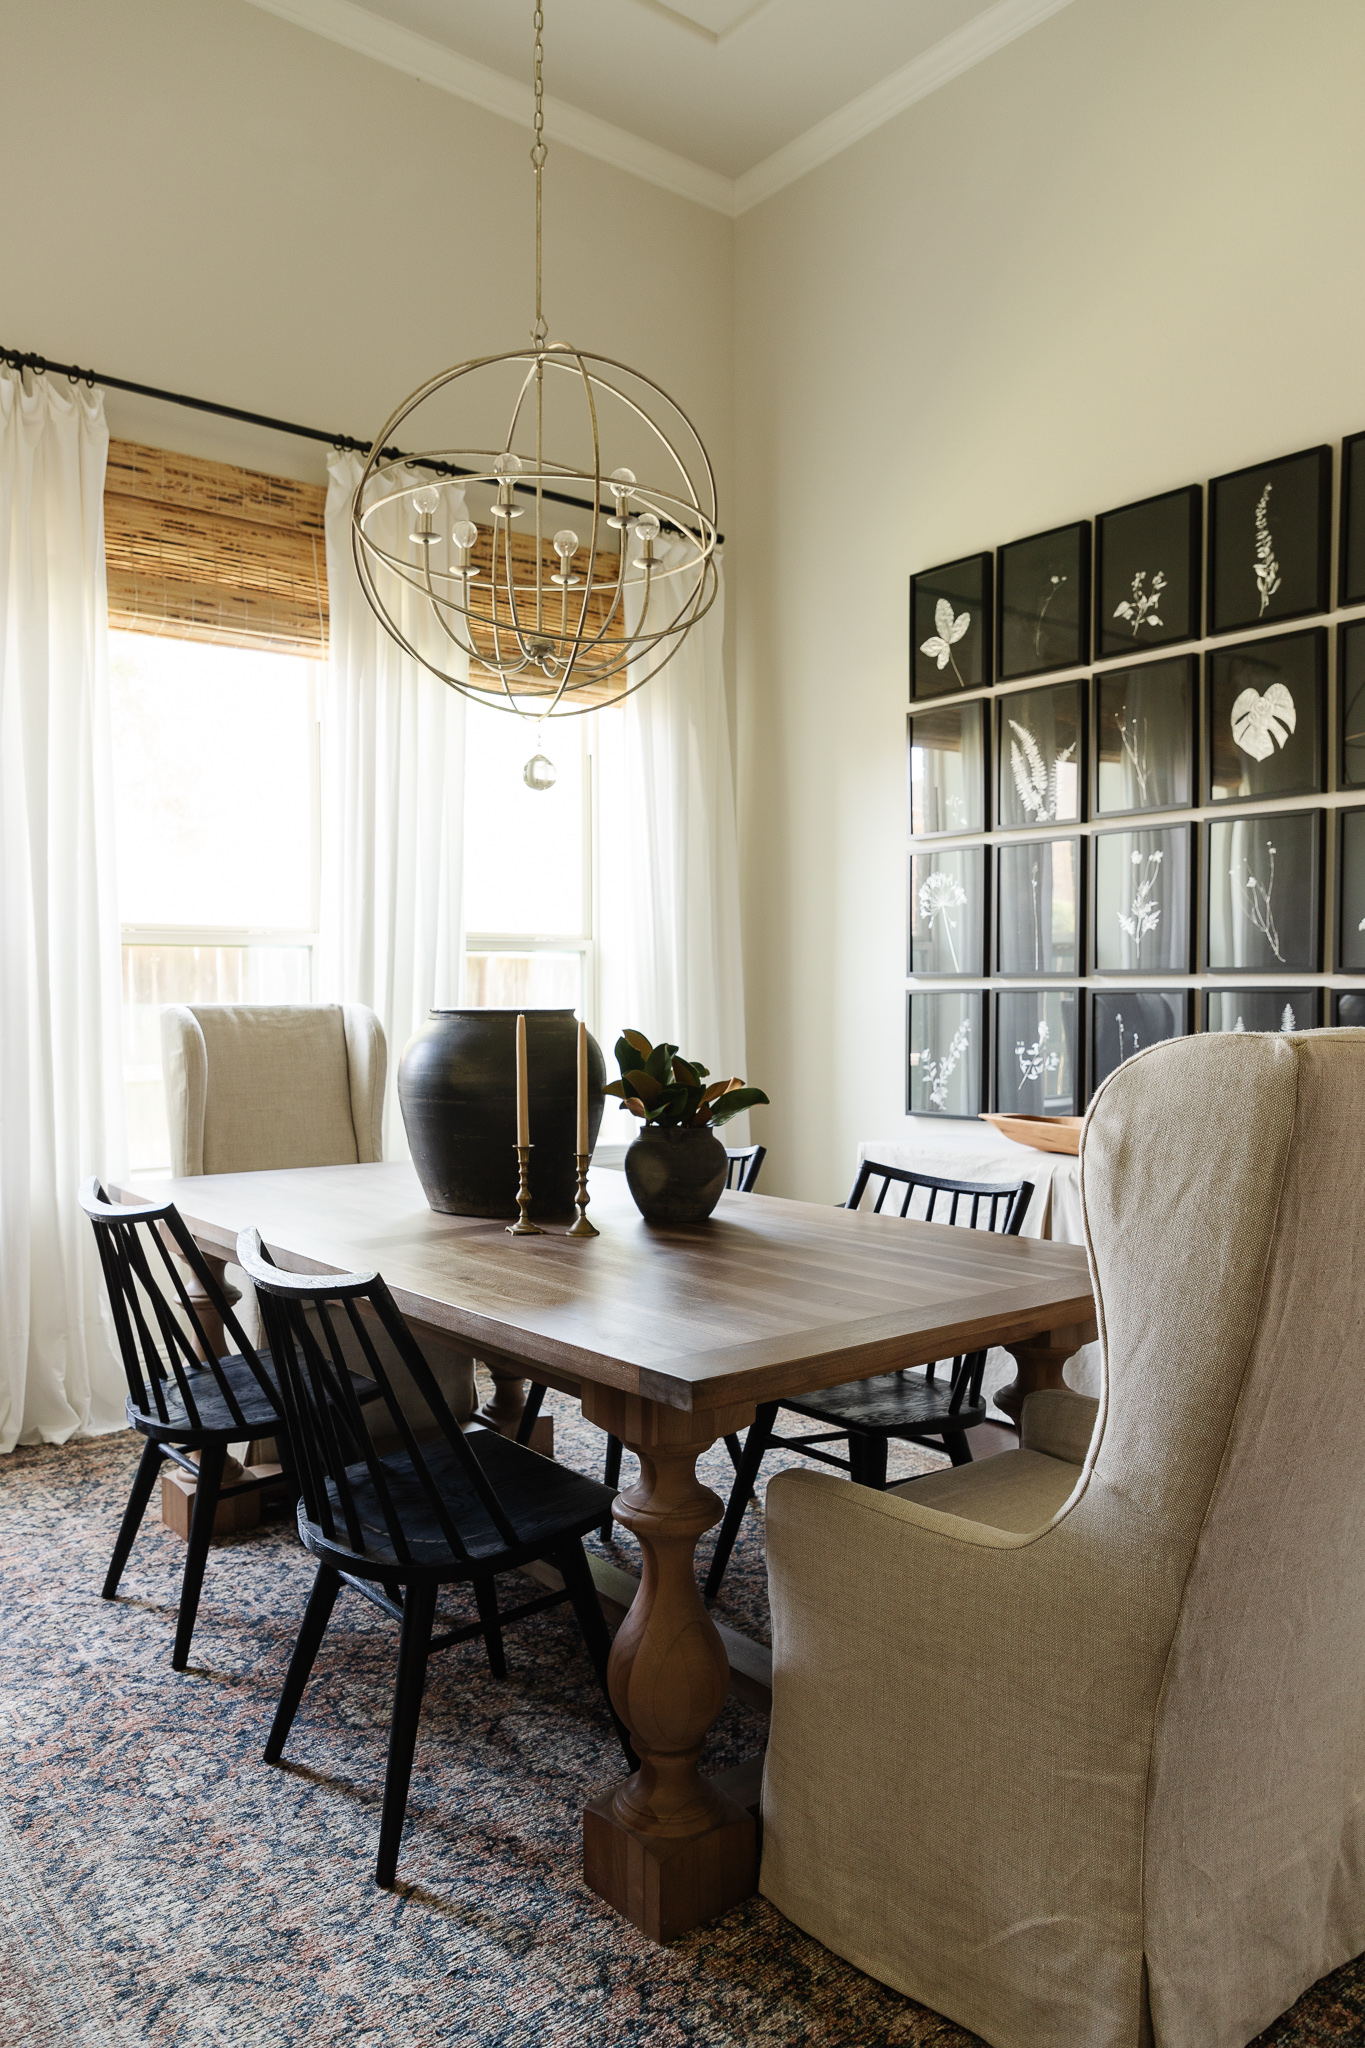
dining room molding reveal
Took me long enough, but I finally took photos of the dining room now that I finished the molding and painting! It’s so much brighter in here, and I can’t get over how much larger the space feels. Keep in mind I’ve still got some work to do – it never ends. But, here we are! I went with…

large framed art | tutorial
I’m still working on pulling Sam’s big boy room together. I had been on the look out for a large piece of art to put over his bed, but kept coming up empty handed. Not that I wasn’t finding anything, there’s plenty, but everything I loved was way more than I wanted to spend. So,…

reader’s sunburst mirror
I wanted to share with you guys a photo sent to me by Betsy in Illinois. She recently finished her sunburst mirror using my tutorial. Isn’t it gorgeous!!! The center mirror was a $15 find from Wal-Mart. She used the bronze metal and patina glaze from Valspar, and I’m just so…

paper wrapped books | tutorial
I love the look of stacked books. It gives you some height for shorter objects, and looks neat and polished. Some of the books I’ve used in my house have been wrapped in white paper. Not only because I like the look, but because I don’t have a lot of large “pretty” books. I lust…
Comments
Newestthis is SO amazing!!!! sam is one lucky guy and now must the be envy of all the neighborhood boys!
You = Brilliant. You got all the Martha Stewart genes.
So Friggin awesome!!! I can only imagine how stoked he is about it.
Soooo I left a big long rambling comment on your Frozen party post, and then our power went out and it disappeared. Lame. It kinda rocked and I would have TORN up those powdered donuts.
Thanks for this useful posts.
Toyota Replacement Radiators & Volkswagen Replacement Radiators
Looks great!!!! – currently doing a Barbie Jeep restoration myself. If anyone is trying this and is having trouble removing the decals try using a hair dryer to warm them up first. It seems to re-activate the adhesive and they come right off in one piece and leave very little residue behind
Going to try this myself for my grandsons! Which set of replacement decals for the dials, lights, did you use? Thanks!
Awesome! They’ll love it. Two and a half years later and my son is still obsessed with it! It looks like the decals I used aren’t available anymore, but the most similar are the ones for the Green Wrangler. If you visit the “replacement Jeep stickers” link at the bottom of my post, just scroll down a bit and you’ll see the Green Wrangler ones. Best of luck!